Hi,
Please access the following link to download the documentation for the a basic application for Create and Update functionality in ADF.
https://docs.google.com/viewer?a=v&pid=explorer&chrome=true&srcid=0Bxyqfq4kqThYMDRkNjYzNzctNjgzOC00YWVkLTg3MWUtOGUyMDZiNjIzNWEz&hl=en_US
Thanks,
Gaurav
Listed down are some of the threads which might be helpful in building applications and self service screens in OAF and ADF. Please feel free to comment and ask questions.
Friday, July 29
Tuesday, July 5
How to loop through the VO Rows in ADF
Hi,
In this example we will make use of a simple button to invoke a method in AM and in that method we will loop through the VO Rows. The same can be utilised in noumerous situations where you need to loop through the VO Rows as the page submits.
Step 1) Write a method loopVORows in Application Module
public void loopVORows ()
{
ApplicationModule am = (ApplicationModule) Configuration.createRootApplicationModule("sapient.oracle.model.InvoiceAM","InvoiceAMLocal");
InvoiceVOImpl vo = (InvoiceVOImpl) am.findViewObject("InvoiceVO1");
if(vo!=null)
{
for (InvoiceVORowImpl row = (InvoiceVORowImpl) vo.first(); row!=null;row = (InvoiceVORowImpl) vo.next())
{
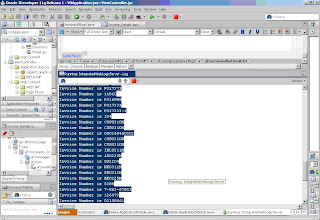
System.out.println("Invoice Number is "+row.getInvoiceNum());
}
}
}
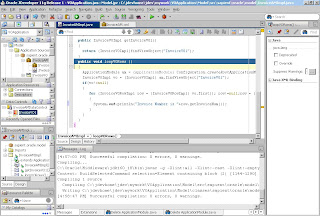
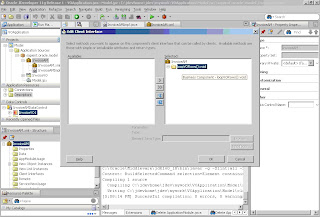
Step 2) Double Click on Application Module and under Client Interfaces shuttle the method defined above in the avaliable methods for client.
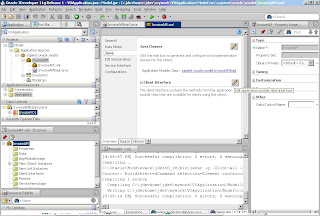
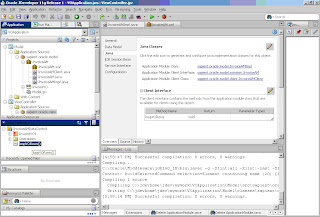
Step 3) Referesh the DataControl so as to reflect the new method and then drag and drop the new method from the datacontrols to the JSF page and create a ADF Button.
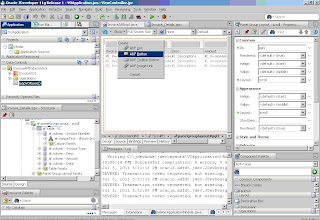
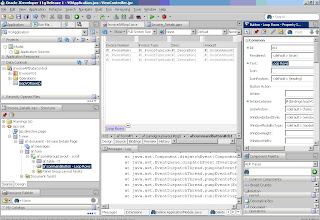
Step 4) Run the page. The output will look like :
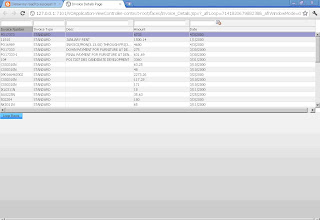
Step 6) Click on the button and in the jdev console you will see the SOP printed.
Thanks,
Gaurav
In this example we will make use of a simple button to invoke a method in AM and in that method we will loop through the VO Rows. The same can be utilised in noumerous situations where you need to loop through the VO Rows as the page submits.
Step 1) Write a method loopVORows in Application Module
public void loopVORows ()
{
ApplicationModule am = (ApplicationModule) Configuration.createRootApplicationModule("sapient.oracle.model.InvoiceAM","InvoiceAMLocal");
InvoiceVOImpl vo = (InvoiceVOImpl) am.findViewObject("InvoiceVO1");
if(vo!=null)
{
for (InvoiceVORowImpl row = (InvoiceVORowImpl) vo.first(); row!=null;row = (InvoiceVORowImpl) vo.next())
{
System.out.println("Invoice Number is "+row.getInvoiceNum());
}
}
}

Step 2) Double Click on Application Module and under Client Interfaces shuttle the method defined above in the avaliable methods for client.


Step 3) Referesh the DataControl so as to reflect the new method and then drag and drop the new method from the datacontrols to the JSF page and create a ADF Button.


Step 4) Run the page. The output will look like :

Step 6) Click on the button and in the jdev console you will see the SOP printed.

Thanks,
Gaurav
Friday, July 1
Time Zone Region not found : Error in ADF
Hi,
This has been very common error faced during development.
So, in order to get rid of this error, instead of setting the project properties and modifying the Debug/Run/Profile for each of the project we can set the Java options at default project properties so that it gets reflected for every project we create within jdev 11g and we would not need to edit the properties again n again for each project.
The steps to do that are :
1) Click on Application at the Top Bar in jdev 11g and select Default Project Properties.

2) click on Edit and set the proper timezone.


Don't forget to close and re open the jdev 11g to reflect the changes.
Thanks,
Gaurav
This has been very common error faced during development.
So, in order to get rid of this error, instead of setting the project properties and modifying the Debug/Run/Profile for each of the project we can set the Java options at default project properties so that it gets reflected for every project we create within jdev 11g and we would not need to edit the properties again n again for each project.
The steps to do that are :
1) Click on Application at the Top Bar in jdev 11g and select Default Project Properties.

2) click on Edit and set the proper timezone.


Don't forget to close and re open the jdev 11g to reflect the changes.
Thanks,
Gaurav
How to create simple VO based ADF Application using ADF Business Components.
Step (1) Create a New Fusion Application including a project for Model and another for View Controller.

Step (2) Include the technologies needed for Model and View Controller Project both.


The jdeveloper will look like :

Step (3) Create a new database connection in IDE Connections.


Step (4) Now Drag n Drop the connection to VO Application.

Step (5) Create Application Module and View Object.

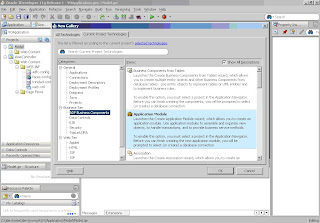
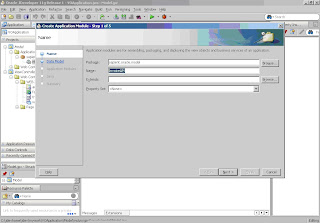
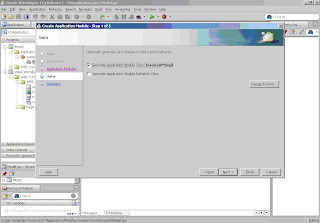
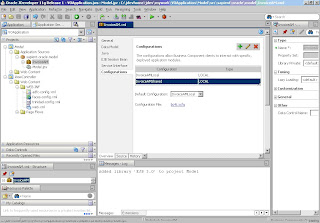
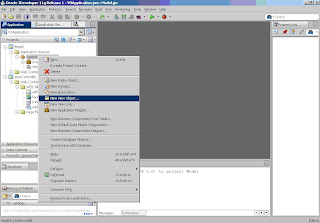
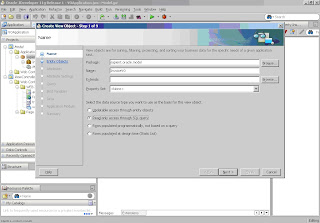
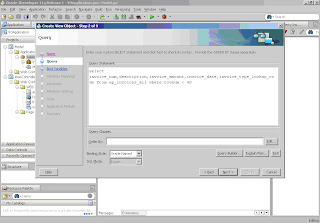
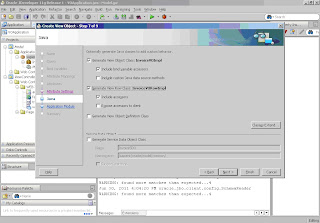
Step (6) Add the view object to the Application Module.
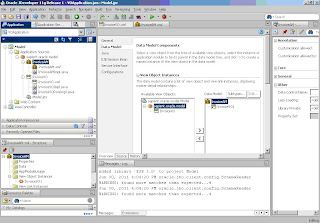
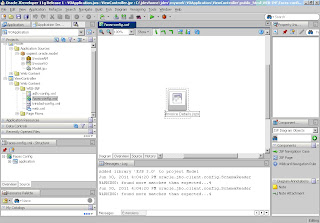
Step(7) Double click on faces-config.xml in View Controller project and add a JSF page to it.
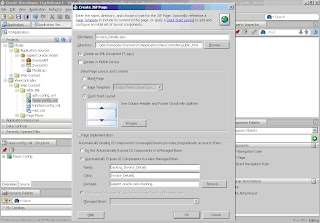
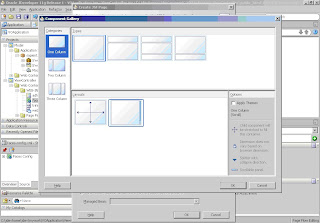
Step (8) Choose the layout and create a backing bean too.
Step (9) Set the Title of the JSF page created.
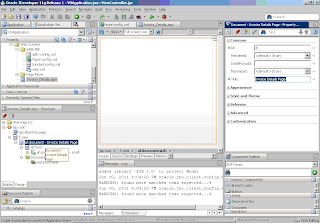
Step (10) Just refresh the DataControl Tab and then you see the VO Instance Name on in data control section.
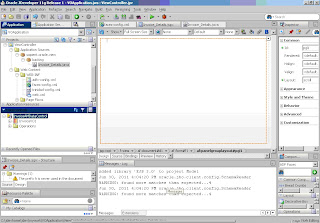
Step (11) Drag the InvoiceVO1 method in data control to the page and create a read only Table based on that and set the table properties.
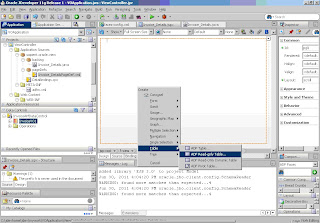
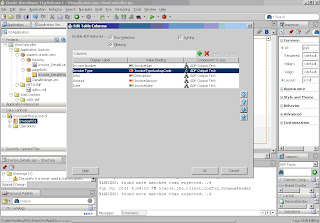
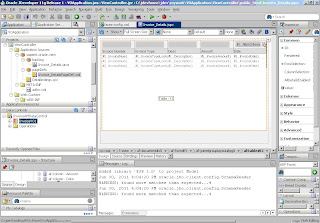
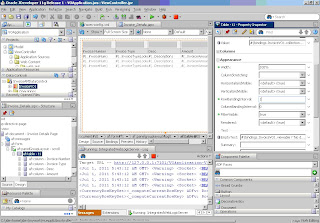
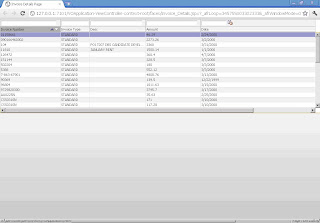
Step (12) The jdeveloper will look like as shown below and run the page.
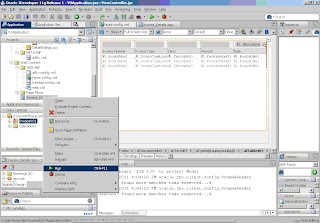
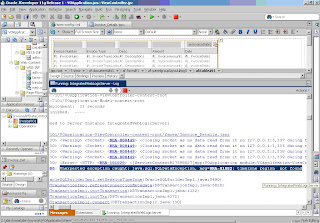
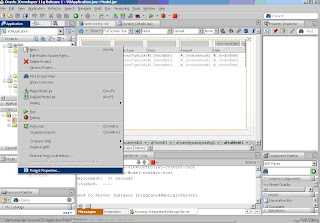
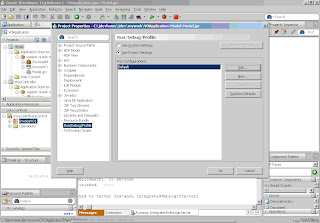
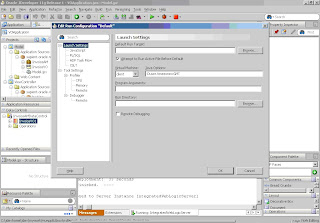
Step (13) If you face Time Zone region not found error then right click on both Model and View Controller Projects and go to project properties -->Run/Debug/Profile -->Click on edit and under Java Options add the time zone of the web logic server.
Close the jdeveloper and re-run the application.
Thanks,
Gaurav

Step (2) Include the technologies needed for Model and View Controller Project both.


The jdeveloper will look like :

Step (3) Create a new database connection in IDE Connections.


Step (4) Now Drag n Drop the connection to VO Application.

Step (5) Create Application Module and View Object.


Step (6) Add the view object to the Application Module.

Step(7) Double click on faces-config.xml in View Controller project and add a JSF page to it.

Step (8) Choose the layout and create a backing bean too.


Step (9) Set the Title of the JSF page created.

Step (10) Just refresh the DataControl Tab and then you see the VO Instance Name on in data control section.

Step (11) Drag the InvoiceVO1 method in data control to the page and create a read only Table based on that and set the table properties.


Step (12) The jdeveloper will look like as shown below and run the page.


Step (13) If you face Time Zone region not found error then right click on both Model and View Controller Projects and go to project properties -->Run/Debug/Profile -->Click on edit and under Java Options add the time zone of the web logic server.
Close the jdeveloper and re-run the application.


Thanks,
Gaurav
Subscribe to:
Comments (Atom)